Mastering the Art of Coal Grill Cooking
So, you want to get really good at grilling with charcoal, huh? It’s a fantastic way to cook, and honestly, it’s not as intimidating as some people make it out to be. The key is understanding a few core principles and practicing a bit. You can absolutely master the art of coal grilling and turn out some amazing food, whether that’s a perfect steak, juicy burgers, or even some veggies. Let’s dive into making your charcoal grilling experience both easier and more delicious.
This is probably the single most important concept to grasp for charcoal grilling. Your grill doesn’t just have one uniform heat; it has multiple zones that you can control. This allows you to cook different foods at different temperatures, sear, and then finish, all without burning or undercooking.
The Two-Zone Fire: Your Secret Weapon
Forget just piling coals up in the middle and hoping for the best. A two-zone fire is your best friend. It’s super simple: you arrange your coals to one side of the grill, leaving the other side empty.
Direct Heat Zone
This is the side where the coals are directly underneath your cooking grate. This is your high-heat zone, perfect for searing proteins like steaks, burgers, and chops. It’s where you get those beautiful grill marks and that delicious crust. Think of this as your “hot zone.”
Indirect Heat Zone
This is the side of the grill where there are no coals directly underneath. It’s cooler, and it’s where you’ll do slower cooking, finishing items that have been seared, or cooking delicate foods that would burn over direct heat. This is your “cooler zone” or “resting zone.”
How to Create Your Two-Zone Fire
It’s surprisingly easy. When you’re first lighting your coals, don’t spread them evenly.
- Pile ’em up: Once your coals are lit and mostly covered in ash (more on lighting in a bit), use your charcoal tongs to push a good majority of them to one side of the charcoal grate.
- Leave space: Leave the other half or even two-thirds of the grate completely empty.
- Adjust as needed: You can always adjust the coal distribution mid-cook to change the size of your heat zones. Want more direct heat? Push more coals over. Want more indirect? Spread them out or move them away from the cooking grate.
Why is This So Important?
This system mimics having a hot and cool side on a kitchen stove or oven. You can sear your steak on the direct side to get that perfect crust and then move it to the indirect side to finish cooking through without burning the outside. For larger cuts of meat or whole chickens, you can sear them on the direct side and then let them cook gently on the indirect side for a longer time. It gives you so much more control and versatility than trying to cook everything over a single, roaring fire.
If you’re interested in enhancing your outdoor cooking experience, you might also find the article on automatic robotic mowers quite intriguing. These innovative devices can help you maintain a pristine lawn while you focus on grilling delicious meals. To learn more about how technology can assist in your gardening efforts, check out this related article on automatic robotic mowers.
Mastering Charcoal Ignition and Temperature Control
Getting your charcoal lit and controlling the temperature is where a lot of people get stuck. It’s all about understanding how airflow affects your fire.
Lighting Your Charcoal: Beyond the Chimney Starter
While a chimney starter is a fantastic tool (and highly recommended for consistency), understanding the principles helps if you ever find yourself without one.
The Chimney Starter Method (The Go-To)
This is hands-down the easiest and most consistent way to light charcoal.
- Fill it up: Fill the chimney starter with the amount of charcoal you think you’ll need.
- Paper is key: Crumple a few sheets of newspaper (or use a fire starter cube) and place it under the chimney, ensuring good airflow.
- Light it up: Light the newspaper in a few spots.
- Wait for the magic: Within 10-20 minutes, you’ll see flames licking up the sides, and the top coals will start to get covered in a light gray ash. This is your cue.
- Pour with care: Carefully pour the lit coals into your grill, arranging them as desired for your two-zone fire. Pro-tip: Wear heat-resistant gloves when handling the chimney starter after lighting.
Other (Less Ideal) Methods
- Lighter Fluid: This is generally discouraged. It can impart a chemical taste to your food if not burned off completely, and it’s a fire hazard. If you must use it, let the fluid soak in for a minute, then light carefully, and wait until the fluid has completely burned off and the coals are fully ashed over before cooking.
- Electric Starters: These work by heating the coals directly but can be slow and sometimes unreliable.
Controlling Temperature: It’s All About Airflow
Once your coals are lit, your grill’s vents are your primary tool for temperature control.
The Role of Vents
- Bottom Vents: These are crucial. They control the amount of oxygen that feeds the fire from below.
- Open Wide: Maximum oxygen = hottest fire. Use this when you want to get your grill screaming hot for searing.
- Partially Closed: Less oxygen = lower temperature. This is for maintaining a moderate heat or bringing the temperature down.
- Almost Closed: Very little oxygen = dying embers. Use this to cool down a very hot grill or for a very low, slow cook if needed.
- Top Vents: These control the exhaust of smoke and heat. They also play a role in airflow, but adjusting the bottom vents has a more immediate and significant impact on temperature.
- Open: Allows heat and smoke to escape, promoting better airflow and a hotter fire.
- Partially Closed: Traps more heat, which can be useful for lower-temperature cooking or to maintain a steady heat.
- Almost Closed: Can smother the fire if the bottom vents are also closed.
Practical Temperature Management
- Start Hot: When you first light your coals, make sure the bottom vents are wide open to get them going.
- Achieve Your Zone: Once coals are ashed over, arrange them and then adjust the bottom vents to get your desired grill temperature. For example, to maintain a medium-high heat for searing, the bottom vents might be half-open.
- Adjust Down: If the grill is too hot, start by closing the bottom vents a little. Don’t slam them shut immediately; make small adjustments.
- Adjust Up (Carefully): If the grill is not hot enough, you can open the bottom vents more. You might also need to add more pre-lit coals if your existing coals are burning down too fast.
- Monitor: Use a reliable grill thermometer (built-in or an independent one placed on the grate) to track your temperature. It takes practice to “feel” the heat, but a thermometer gives you objective feedback.
Knowing When Your Coals Are Ready
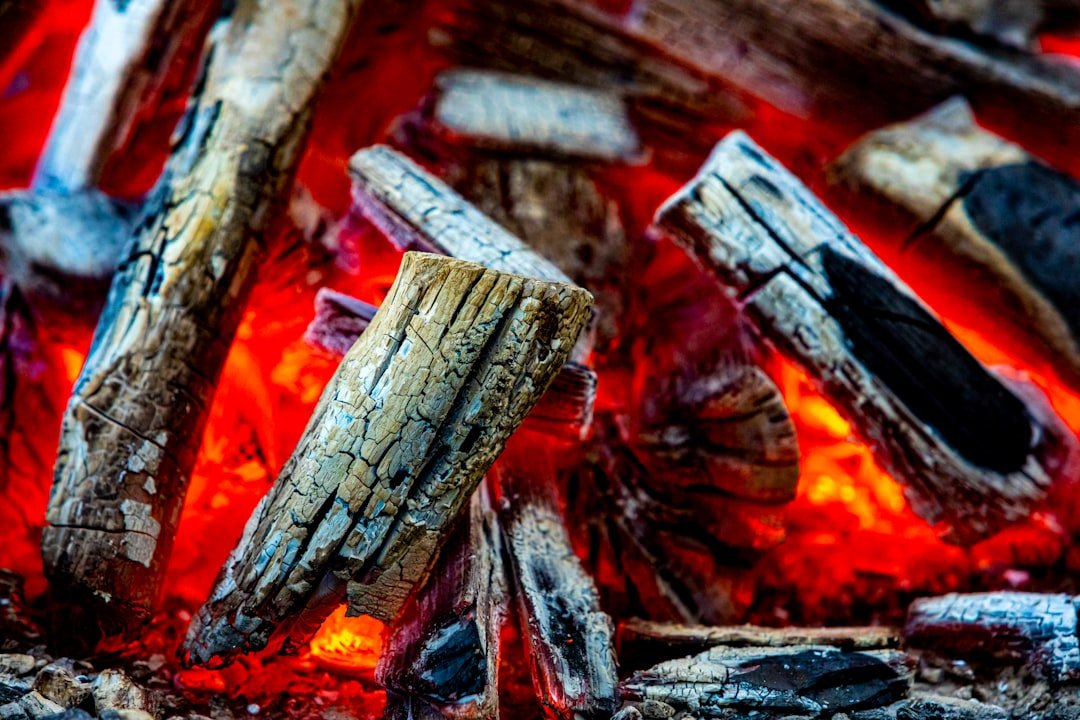
“Ashed over” is the key phrase. This means the black coals have turned a uniform grayish-white. This indicates that the coals are burning efficiently and evenly, providing consistent heat. If you still see a lot of black, the coals aren’t fully lit, and the fire will be inconsistent and smoky.
Selecting and Preparing Your Fuel: The Heart of the Fire

The type of charcoal you use and how you prepare it significantly impacts your grilling experience, from flavor to burn time.
Charcoal Types: Lump vs. Briquettes
This is a common debate, and both have their pros and cons.
Lump Charcoal
- What it is: Made from pure hardwood, burned in a low-oxygen environment. It’s irregular in shape and size.
- Pros:
- Burns hotter and cleaner than briquettes.
- Lights faster.
- Can impart a more natural, smoky wood flavor.
- Less ash produced.
- Cons:
- More expensive per pound.
- Burn time can be less consistent due to varying sizes.
- Can be harder to find in some areas.
Charcoal Briquettes
- What it is: Made from charcoal fines, binders, and an accelerant (usually). They are uniform in shape.
- Pros:
- Consistently shaped, leading to a more predictable burn.
- Longer burn time.
- Widely available and generally cheaper.
- Cons:
- Burns at a lower temperature than lump.
- Can produce more ash.
- Some people report a slight chemical taste if not burned long enough, though this is debated and often depends on the brand.
Which Should You Choose?
For beginners, briquettes can be more forgiving because of their consistent burn. If you’re looking for high heat for searing and a cleaner burn, lump charcoal is often preferred by enthusiasts. Many people use both, depending on what they’re cooking. For example, lump for a quick steak sear and briquettes for a longer smoke session.
Preparing Your Charcoal
It’s not just about lighting it; it’s about how you handle it for optimal performance.
Using the Right Amount
- Too much: Makes it too hot and hard to control, leading to burnt food.
- Too little: Doesn’t provide enough heat for long enough, resulting in undercooked food.
- General rule: For a standard kettle grill, use about 2-3 pounds of charcoal for a moderate grilling session. Adjust based on how long you’ll be cooking and the type of food. A whole chicken will require more coals than burgers.
Arranging for Heat Zones (Revisited)
As mentioned earlier, always arrange your coals for a two-zone fire. This is crucial for managing heat and preventing flare-ups.
Managing Burned-Down Coals
- Adding More Coals: If you need more heat or are cooking for a longer period, always add new coals that have already been lit. Adding unlit coals directly to the fire will create a lot of smoke and can temporarily kill your heat as they struggle to ignite. Use your chimney starter to pre-light extra coals.
- Discarding Old Coals: Once coals are completely spent and cool, they can be discarded. Don’t dump hot coals inside or too close to structures.
Essential Tools for Coal Grilling Success
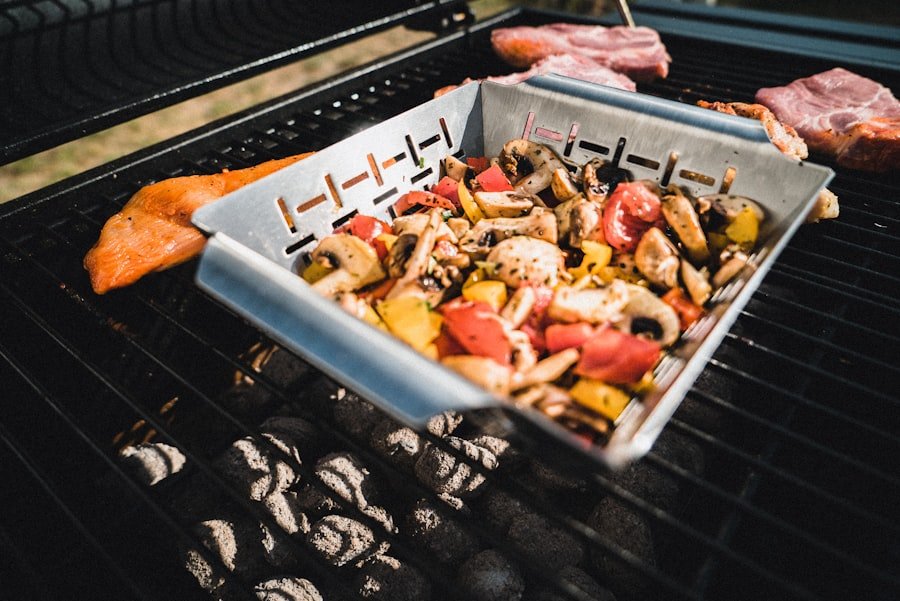
You don’t need a mountain of gadgets, but a few key tools will make your life a lot easier and your grilling results better.
The Grill Brush: Your First Line of Defense
A good, sturdy grill brush is non-negotiable. You need to clean the grates to prevent sticking and off-flavors.
- Types: Wire brushes are common, but be mindful of loose bristles. Consider scraper-style brushes, or those with nylon bristles (for when the grill is cool).
- When to clean: Clean your grates while the grill is hot, just before you put food on. The heat helps loosen debris. A quick scrape after cooking is also good practice, but a thorough clean is best done before the next use when the grill is hot.
Long-Handled Tongs and Spatulas: Safety First
You’ll be working with intense heat. Invest in good quality, long-handled tongs for flipping food and long-handled spatulas for maneuvering coals.
- Tongs: Get a couple of different types. A sturdy pair for flipping burgers and steaks, and maybe a more delicate pair for smaller items. Good leverage is key.
- Spatulas: Essential for pushing coals around and managing your fire.
Instant-Read Thermometer: Accuracy is Key
“Is it done yet?” is a question best answered by a thermometer, not by cutting into your food and losing valuable juices.
- Why it’s a game-changer: It takes the guesswork out of cooking. You’ll know for sure when your chicken is safe, your steak is medium-rare, or your pork is perfectly cooked.
- Tips: Insert the thermometer into the thickest part of the meat, avoiding bone.
Heat-Resistant Gloves: Protect Your Hands
You’re going to be reaching into hot zones, adjusting vents. Protect yourself.
- Look for: Gloves made from Nomex or silicone that offer good dexterity. They’ll save you from nasty burns.
The Chimney Starter: Revisited
Seriously, if you don’t have one, get one. It makes lighting charcoal so much more predictable and easier. It’s one of the best investments you can make for charcoal grilling.
If you’re looking to enhance your outdoor cooking experience, you might find the article on grilling techniques particularly useful. It provides insights into various methods that can elevate your dishes, especially when using a coal grill. Understanding how to manage heat and flavor can make a significant difference in your grilling results, ensuring that every meal is a delicious success.
Grilling Techniques for Perfect Results
| Coal Grill Metrics | Value |
|---|---|
| Temperature Range | 200°F – 700°F |
| Cooking Surface Area | 500 square inches |
| Fuel Type | Charcoal |
| Heat Source | Direct heat from burning charcoal |
Beyond just lighting the coals, there are specific techniques that elevate your charcoal grilling game.
Searing: The Foundation of Flavor
Searing is about creating that beautiful, flavorful crust on the outside of your food. It’s all about high heat.
- How to do it: Place your food directly over the hot coals (direct heat zone). Get your grill as hot as you can reasonably manage.
- Don’t overcrowd: Give your food space so air can circulate and the heat can penetrate evenly.
- Resist the urge to move: Let the food sear undisturbed for a few minutes to develop those grill marks and that crust. Flipping too early can result in pale, unappealing food.
The Reverse Sear: For Thicker Cuts
This technique is fantastic for thicker steaks (1.5 inches or more), roasts, and even thick pork chops.
- Indirect Heat First: Start by cooking your thicker cut of meat on the indirect heat side of your grill. This allows it to cook gently and evenly through to your desired internal temperature.
- Sear to Finish: Once it’s close to your target temperature (you’ll use your thermometer!), move it over to the direct heat zone to create that perfect sear and crust.
- Benefits: This method minimizes the chance of overcooking the outside while the inside is still raw, and it gives you excellent control over the final internal temperature before the crust is applied.
Managing Flare-Ups: The Enemy of Even Cooking
Flare-ups happen when fat drips onto the coals and ignites. They can char your food quickly.
- Prevention is key:
- Trim excess fat: If you have large, dangling pieces of fat, trim them.
- Pat food dry: Moisture causes steam, which can lead to more dripping.
- Use the two-zone fire: When a flare-up happens, simply move the food to the indirect heat side (the no-coal zone) until the flames subside.
- Don’t use water: Spraying water on a charcoal fire causes ash and steam, which can cool your coals and make things worse.
- Dealing with them: If a flare-up is directly under your food, move it to the indirect side immediately. Once the flames die down, you can move it back to the direct heat if needed.
Resting Your Food: A Crucial Step
This is as important as the cooking itself. Once your food is off the grill, let it rest for a few minutes before cutting into it.
- Why? When meat cooks, the muscle fibers tighten, pushing the juices towards the center. Resting allows those juices to redistribute throughout the meat, resulting in a much more tender and moist final product.
- How long? Generally, a few minutes for smaller pieces of meat (burgers, steaks) and 5-15 minutes for larger cuts (roasts, whole chickens). Tent loosely with foil if you’re worried about it cooling down too much.
Mastering coal grilling is an ongoing process, but by focusing on these fundamentals – understanding heat zones, controlling your fire, using the right tools, and employing smart techniques – you’ll be well on your way to producing consistently delicious results. Don’t be afraid to experiment and learn from each cook. Happy grilling!