Master the Art of Barbecue Grilling
So, you want to master the art of barbecue grilling? Let’s cut to the chase: it’s really about understanding your heat, your ingredients, and a little bit of patience. There’s no magic trick, just a solid understanding of a few core principles that will have you turning out impressive grilled meals from your backyard in no time. Think of it less like a complex culinary science and more like a learned skill, one that gets better with every burger, steak, or vegetable you toss on the grate. Forget those intimidating cookbooks that make you feel like you need a culinary degree. We’re talking about practical, actionable advice that you can put to use this weekend.
Before you even think about firing up the coals or turning on the gas, let’s lay some groundwork. Having the right gear and understanding the basic setup makes a huge difference. It’s easy to get caught up in shiny new gadgets, but for most folks, a few key items will get you 90% of the way there.
Essential Grilling Tools
You don’t need a dedicated grill-accessory store in your garage. Here’s what you actually need:
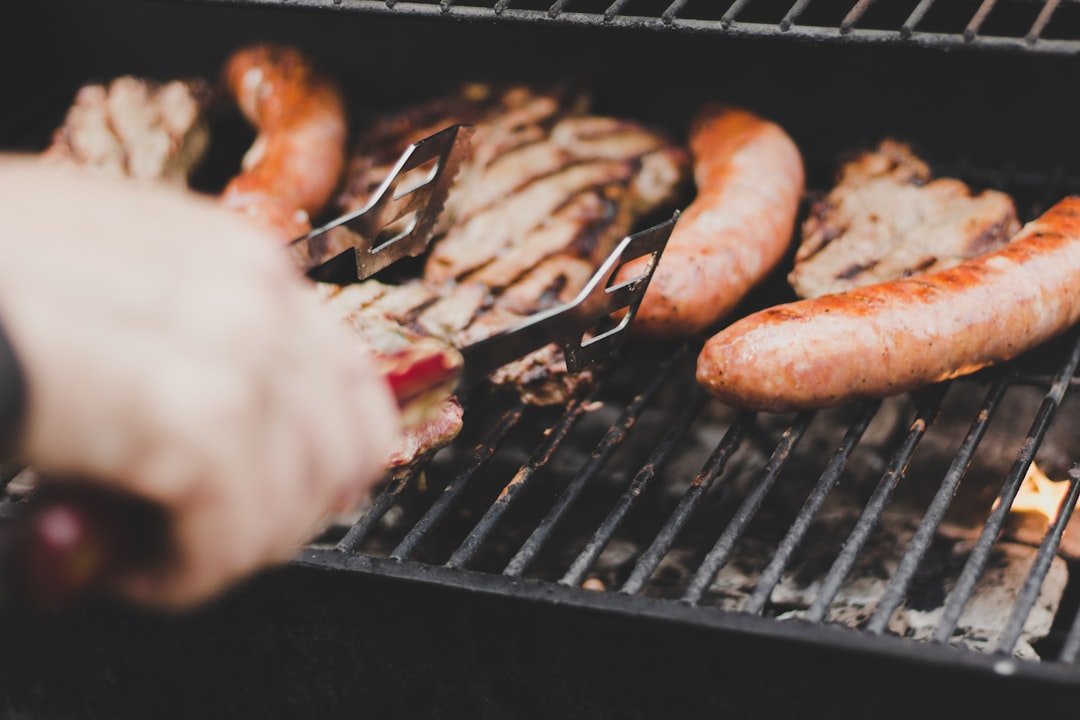
- Tongs: A good pair of long-handled tongs is your absolute best friend. You want something sturdy that won’t buckle under the weight of a thick steak. The longer the better – it keeps your hands away from the heat.
- Spatula: For flipping burgers, fish, and anything that might cling to the grates. A wide, flexible spatula is ideal.
- Grill Brush: Crucial for cleaning your grates. A clean grate prevents sticking and makes for better-looking food. Don’t skimp here; a worn-out brush won’t do a proper job.
- Instant-Read Thermometer: This is a game-changer. No more guessing if your chicken is cooked through or your steak is medium-rare. It takes the guesswork out of grilling and ensures food safety.
- Heat-Resistant Gloves: For when you need to adjust coals, move the grill, or handle hot grates. Safety first!
- Chimney Starter (for charcoal): If you’re using charcoal, a chimney starter is so much easier and more reliable than lighter fluid. It creates perfectly lit coals without the chemical taste.
Grilling Surfaces and Their Impact
The surface your food cooks on matters. Each type has its own pros and cons:
- Cast Iron Grates: These retain heat incredibly well and give you fantastic searing marks. They’re durable and can last a lifetime if cared for. The downside? They can be heavy and prone to rust if not seasoned and maintained properly.
- Stainless Steel Grates: These are more resistant to rust and easier to clean than cast iron. They also heat up relatively quickly. However, they might not hold heat quite as long, and you might not get the same deep sear marks as with cast iron.
- Porcelain-Enameled Grates: These are common on many grills. They’re non-stick and easy to clean. The porcelain coating can chip over time, however, exposing the metal underneath, which can then rust.
Understanding Your Grill Type
Whether you’re a charcoal purist or a gas grill enthusiast, each has its own characteristics to master.
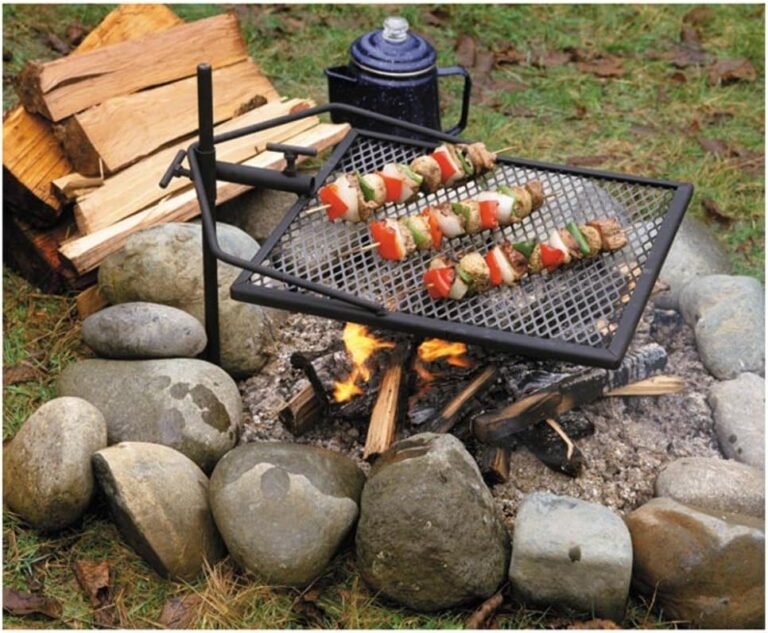
- Charcoal Grills: These offer that classic smoky flavor that many people crave. The appeal is in the ritual, the control over heat zones, and the distinct taste. However, they require more temperature management and a bit more time to get going.
- Gas Grills: The convenience factor is undeniable. They heat up quickly, offer precise temperature control with knobs, and cleanup is generally simpler. While they might not impart as much smoky flavor as charcoal without accessories, they are incredibly user-friendly for everyday grilling.
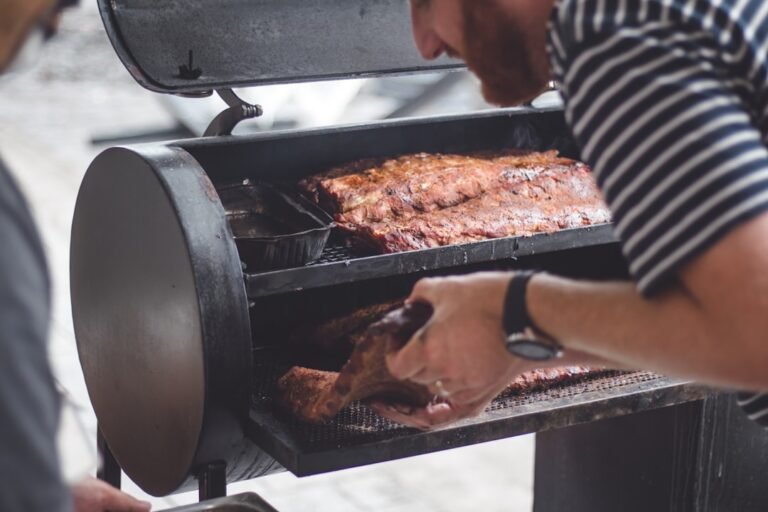
- Pellet Grills/Smokers: These offer a hybrid experience, combining the ease of a gas grill with the smoker capabilities of charcoal. They use wood pellets to generate heat and smoke, controlled by a digital thermostat. They’re fantastic for low-and-slow cooking and impart consistent smoky flavor.
If you’re looking to enhance your outdoor cooking experience, you might find our article on the best accessories for your barbecue grill particularly useful. It offers insights into essential tools and gadgets that can elevate your grilling game. To read more, visit this link.
The Art of Heat Management
This is where grilling truly separates itself from pan-frying. Controlling the heat is key to cooking different types of food perfectly. It’s not just about “hot” or “medium”; it’s about creating specific cooking environments for the best results.
Direct vs. Indirect Heat
This is the most fundamental concept in grilling. Get this right, and you’re halfway to grilling mastery.
- Direct Heat: This is when your food is placed directly over the heat source (coals or burners). It’s like searing or broiling. This is perfect for quickly cooking thinner cuts of meat, vegetables, and anything you want to get a good char on. Think burgers, hot dogs, thin steaks, and asparagus.
- Indirect Heat: This is when your food is placed away from the direct heat source. On a charcoal grill, you push the coals to one side. On a gas grill, you turn off the burners directly beneath the food. This creates an oven-like environment within your grill. It’s essential for cooking thicker cuts of meat (like roasts, whole chickens, ribs) that need more time to cook through without burning on the outside.
Creating Heat Zones
This is the practical application of direct and indirect heat, especially on charcoal grills.
- The Two-Zone Method (Charcoal): This is a game-changer. Pile your lit coals to one side of the grill. This creates a “hot zone” (direct heat) and a “cool zone” (indirect heat). You can sear your food over the hot zone and then move it to the cool zone to finish cooking without burning. This gives you much more control.
- The Two-Zone Method (Gas): Simply turn on half of your burners to high and leave the other half off. The lit burners provide direct heat, and the unlit ones provide indirect heat.
Temperature Control Tips
Maintaining the right temperature is crucial for consistent results.
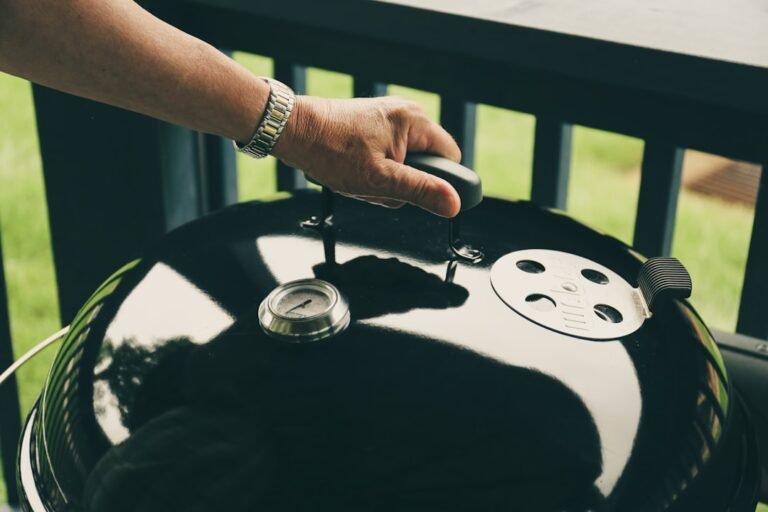
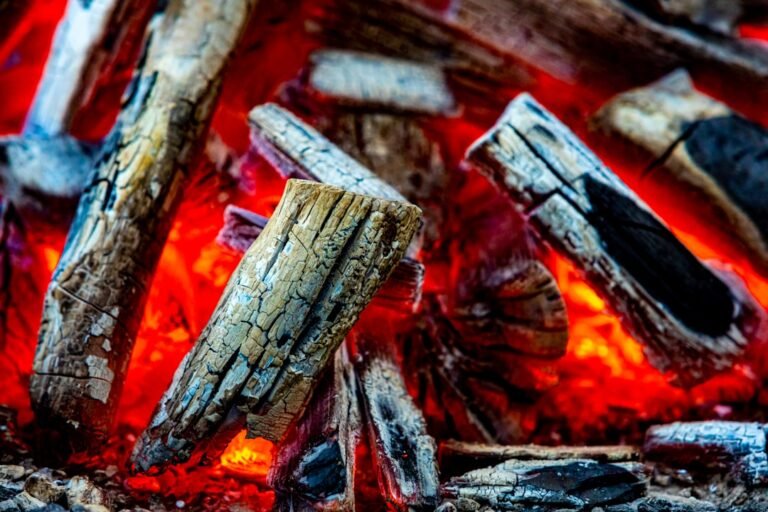
- For Charcoal: The number of coals you use dictates the heat. Lit coals are hotter than unlit ones. You can also control airflow with the vents: opening them increases heat, closing them decreases it. Learn to judge the heat by holding your hand a few inches above the grate (don’t touch!). For medium heat (around 350-400°F), you should only be able to hold your hand there for 4-5 seconds.
- For Gas: Use your temperature gauge (if you have one) and the control knobs. Start high, then reduce the flame for more delicate cooking. Practice makes perfect in learning how your specific grill behaves.
Mastering the Sear: Flavor and Texture
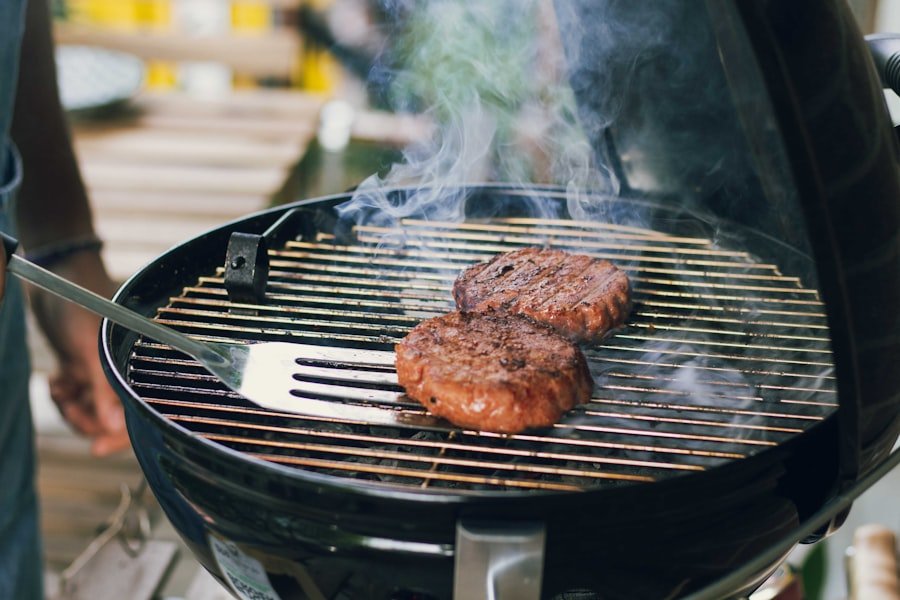
That beautiful crust on a steak or burger isn’t just for looks. A good sear locks in juices and develops complex flavors through the Maillard reaction.
Achieving the Perfect Sear
It’s all about two things: heat and time.
- Get Your Grates HOT: For searing, your grates need to be blazing hot. This means preheating your grill for at least 10-15 minutes, ensuring your coals are fully ash-covered (charcoal) or your burners are on high (gas).
- Dry Your Meat: Moisture is the enemy of a good sear. Pat your meat thoroughly dry with paper towels. This allows the surface to come into direct contact with the hot grates, creating that crust.
- Don’t Crowd the Grates: Give your food space! Overcrowding lowers the grill temperature and steams the food instead of searing it. Cook in batches if necessary.
- Resist the Urge to Poke and Prod: Let the food cook undisturbed for a few minutes. Moving it too early will prevent it from developing a good crust and can cause it to stick. You’ll know it’s ready to flip when it releases easily from the grates.
Understanding the Maillard Reaction
You don’t need to be a chemist to appreciate this.
- The Science Simplified: When amino acids and sugars in food are heated, they interact to create hundreds of new flavor compounds and browning. This is what gives grilled and roasted foods their delicious, savory taste. High heat is key to initiating this reaction quickly.
Dealing with Sticking
This is a common grilling frustration that can be avoided.
- Clean Grates are Key: As mentioned, a clean grate is essential.
- Proper Preheating: Ensure your grates are thoroughly preheated before adding food.
- Oiling the Food (Not the Grates): Lightly oiling the food itself, rather than the grates, can help prevent sticking and allows for more even heat transfer. Use a high smoke point oil like canola or vegetable oil.
- Knowing When to Flip: Let food cook undisturbed for a bit. If it’s sticking badly, it likely needs more time to develop a crust and release naturally.
Grilling Different Foods: Beyond the Basics
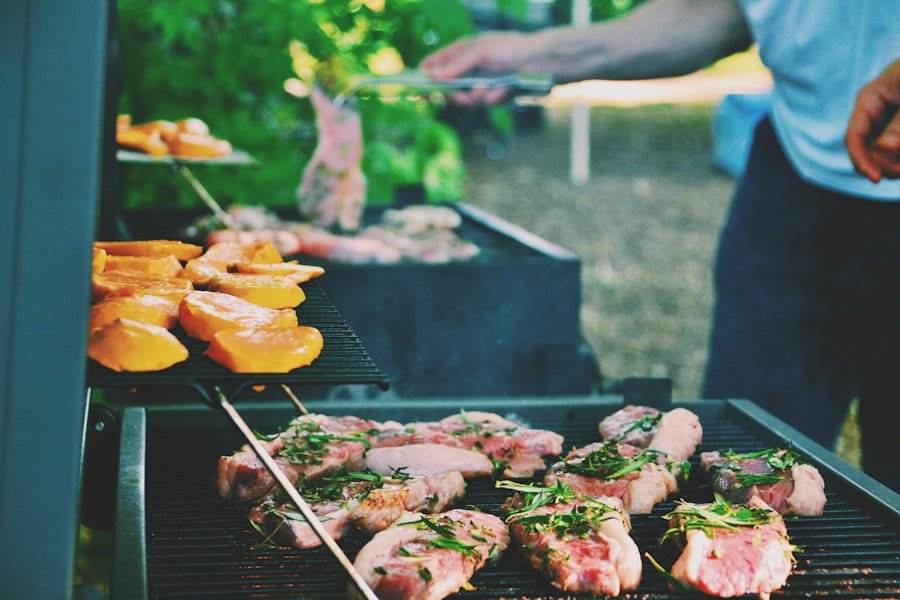
Once you’ve got the heat and searing down, you can start exploring the vast world of grilling. Each food type has its own nuances.
Steaks: The Quintessential Grill Food
Steaks are a classic for a reason. They cook relatively quickly and benefit immensely from the direct heat of the grill.
- Choosing Your Cut: Ribeye, New York strip, and sirloin are great for grilling. Flank steak and skirt steak are thinner and benefit from marinating.
- Thickness Matters: Thicker cuts (1-1.5 inches) are ideal for achieving a good sear on the outside while keeping the inside at your desired doneness.
- Seasoning: Simple is often best. Good quality salt and freshly ground black pepper are all you need for many cuts. For tougher cuts, a marinade can add flavor and tenderize.
- Cooking to Temperature: Use that instant-read thermometer!
- Rare: 120-125°F
- Medium-Rare: 130-135°F
- Medium: 140-145°F
- Medium-Well: 150-155°F
- Well-Done: 160°F+ (though many steak lovers would advise against this for prime cuts)
- Resting is Crucial: Always let your steak rest for 5-10 minutes after grilling. This allows the juices to redistribute throughout the meat, making it more tender and flavorful.
Chicken: Versatile and Delicious
Chicken can be tricky because it needs to be cooked through for safety, but overcooking leads to dry, stringy meat.
- Bone-in vs. Boneless: Bone-in chicken takes longer to cook but tends to stay more moist. Boneless is quicker but requires more attention to avoid drying out.
- Marinating is Your Friend: Chicken can handle a variety of marinades, which add flavor and moisture. Acidic marinades (lemon juice, vinegar) can tenderize.
- Managing Heat for Chicken: For larger pieces or bone-in chicken, start with direct heat to sear, then move to indirect heat to cook through. For smaller boneless pieces (like breasts cut into strips), direct heat is often sufficient, but watch carefully.
- Checking for Doneness: The internal temperature for cooked chicken is 165°F. Juices should run clear when pierced with a fork or knife.
Fish and Seafood: Delicate Perfection
Grilled fish and seafood are fantastic, offering a light, flaky texture and fresh flavor. However, they cook very quickly and can easily fall apart.
- Choose the Right Fish: Thicker, firmer fish like salmon, tuna, swordfish, and mahi-mahi are excellent for grilling. Flakier fish can be grilled on a plank or in foil packets.
- Scaling and Skin On: If possible, leave the skin on. It acts as a natural barrier, helping to keep the fish together and preventing it from sticking.
- Oiling and Seasoning: Lightly oil the fish and season simply with salt, pepper, and perhaps some herbs or lemon.
- Gentle Flipping: Use a thin, flexible spatula and flip very carefully.
- Cook Time: Fish cooks very fast. Keep a close eye on it. Salmon might take 5-7 minutes per side depending on thickness.
- Shrimp and Scallops: These cook in just a few minutes on direct heat under high heat. Don’t overcook them, or they’ll become rubbery.
Vegetables: Bright and Flavorful
Grilling can transform vegetables, bringing out their natural sweetness and adding a smoky char.
- Choose Sturdy Veggies: Asparagus, zucchini, bell peppers, onions, corn on the cob, broccoli, and eggplant are all great candidates.
- Preparation is Key: Cut vegetables into even-sized pieces for uniform cooking. For corn, you can grill it in the husk or shuck it and grill directly.
- Oiling and Seasoning: Toss vegetables with olive oil or other cooking oil and your desired seasonings.
- Direct vs. Indirect Heat: Most vegetables benefit from direct or medium-high heat for a quick cook and char. Larger or denser vegetables might benefit from a brief stint on indirect heat after searing.
- Don’t Overcook: You want them tender-crisp, not mushy.
If you’re looking to enhance your outdoor cooking experience, you might want to explore the benefits of a bar bq grill. A well-chosen grill can elevate your culinary skills and make gatherings more enjoyable. For those interested in optimizing their outdoor space, consider reading this insightful article on electric mowers, which can help maintain your lawn while you focus on grilling delicious meals. Check it out here for tips on keeping your yard pristine.
The Importance of Marinades, Rubs, and Sauces
| Product | Price | Rating |
|---|---|---|
| Barbecue Grill A | 199.99 | 4.5 |
| Barbecue Grill B | 149.99 | 4.0 |
| Barbecue Grill C | 249.99 | 4.8 |
These elements can elevate your grilled food from good to spectacular, adding layers of flavor and moisture.
Marinades: Flavor Infusion
Marinades add flavor and can tenderize tougher cuts of meat.
- The Basic Formula: A good marinade generally has an acidic component (like citrus juice, vinegar, or yogurt), an oil component, and flavorings (herbs, spices, garlic, onion, soy sauce, etc.).
- Time Matters: Marinating times vary. Thin cuts of meat or delicate fish might only need 30 minutes to a few hours. Thicker cuts or tougher meats can benefit from several hours or even overnight.
- Food Safety: Always marinate in the refrigerator. Never reuse marinade that has touched raw meat as a sauce unless you boil it thoroughly first.
Rubs: Dry Flavor Powerhouses
Dry rubs are a mixture of spices and herbs applied directly to the surface of the meat.
- Creating Your Own: Experiment with combinations! Common ingredients include paprika, chili powder, garlic powder, onion powder, brown sugar, salt, and pepper.
- Application: Apply the rub to the meat generously, ensuring it adheres well. Gently pat it on.
- When to Apply: For best results, apply rubs at least 30 minutes before grilling, or even the night before.
Sauces: The Finishing Touch
Grill sauces are often applied towards the end of cooking.
- Basting: Baste with sauce during the last 10-15 minutes of cooking. Applying it too early can cause it to burn due to its sugar content.
- Types of Sauces: From classic BBQ sauces to tangy vinaigrettes or spicy glazes, the possibilities are endless.
- Don’t Overdo It: Sometimes, a light hand with the sauce is best, allowing the natural flavors of the food to shine through.
If you’re looking to enhance your outdoor cooking experience, you might find our article on the best accessories for your bar bq grill particularly useful. These accessories can elevate your grilling game and help you achieve perfect results every time. For more insights, check out this informative piece on grill accessories that can complement your bar bq grill setup.
Advanced Techniques and Tips
Once you’re comfortable with the fundamentals, you can explore techniques that will truly impress.
Smoking: Low and Slow Flavor
Smoking adds a deep, complex smoky flavor that’s hard to replicate any other way.
- Wood Types: Different wood chips or chunks impart different flavors. Hickory, mesquite, apple, cherry, and oak are popular choices.
- Smoking on a Charcoal Grill: Create a two-zone fire and place your soaked (or unsoaked, depending on preference) wood chips/chunks on the hot side. Place your food on the indirect side.
- Using a Smoker Box: If you have a gas grill, a smoker box filled with wood chips can add smoke flavor.
- Temperature Control: Smoking is typically done at lower temperatures (225-275°F) for longer periods.
Direct Grilling of Delicate Foods (Fish & Veggies)
Sometimes you want that char but are worried about things falling apart.
- Grill Baskets: These mesh baskets are designed to hold smaller or more delicate items, making them easy to flip.
- Grilling Planks: Cedar or other wood planks impart a subtle smoky flavor and prevent sticking. Soak them in water for a few hours before placing them on the grill. Place your food directly on the plank.
- Foil Packets: Chop vegetables and proteins, add seasonings and a little liquid, seal in a foil packet, and grill. This steams the food inside while imparting some smoky flavor.
Achieving Perfect Doneness with Confidence
Reiterate the importance of the thermometer.
- Don’t Guess: Investing in an instant-read thermometer is the single best thing you can do to improve your grilling. It takes the anxiety out of cooking meats to the correct temperature for both safety and optimal texture.
- Practice and Experience: Even with a thermometer, each grill is different, and each cut of meat will behave slightly differently. The more you grill, the better you’ll get at judging doneness by feel and appearance, but the thermometer is your foolproof backup.
Resting Your Food
This is often overlooked but is vital.
- Why Rest? When meat cooks, the muscle fibers tighten, squeezing out juices. Resting allows these fibers to relax and the juices to redistribute throughout the meat for a more tender and flavorful result.
- How Long? Tent loosely with foil and let thicker cuts rest for 5-15 minutes. Thinner cuts need less time.
Grilling is a journey, not a destination. Don’t be afraid to experiment, learn from your mistakes, and most importantly, enjoy the process and the delicious results. Happy grilling!