Master the Art of BBQ: Tips for Perfect Grilling
So, you want to be a BBQ master, huh? You’re probably wondering what the secret is to those perfectly seared steaks, incredibly juicy chicken, and veggies that actually taste good off the grill. It’s not magic, and it’s definitely not about having the fanciest gear. It’s really about understanding a few core principles and practicing them. Think of it as a delicious skill you’re building. This guide is here to break down the essentials without the jargon, so you can get grilling confidently and, most importantly, enjoy some fantastic food. Let’s get to it.
Before we even think about food, your grill itself plays a starring role. The good news is, you don’t need a thousand-dollar monster to make great BBQ. It’s more about knowing your tool and how to use it effectively.
Gas vs. Charcoal: What’s the Real Difference?
This is the age-old debate. Honestly, both can produce amazing results, but they offer different experiences.
Gas Grills: Convenience is Key
Gas grills are fantastic for their ease of use and quick heat-up times. If you’re the type who wants to get dinner on the table fast after a long day, or you live in a place with strict fire regulations, gas might be your go-to.
- Pros: Fast to heat, easy to control temperature, minimal cleanup.
- Cons: Doesn’t impart that smoky flavor that charcoal does, can sometimes feel less “authentic” to grilling purists.
Charcoal Grills: The Flavor Factor
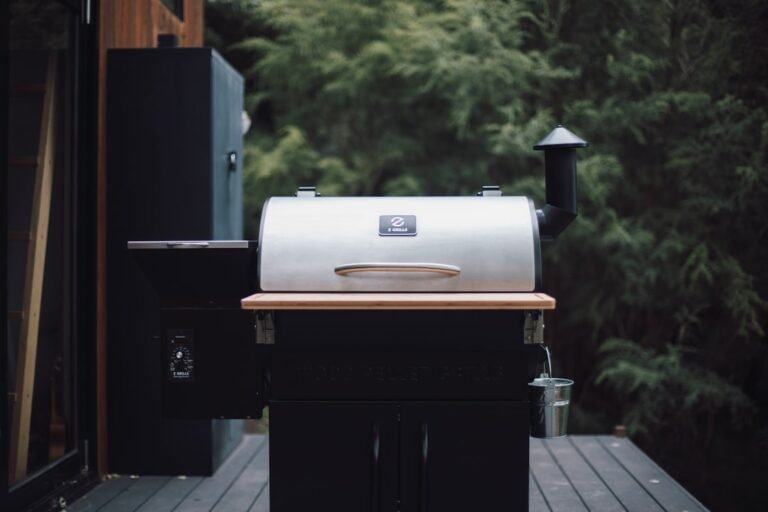
Charcoal grilling is where you get that classic smoky flavor and a more hands-on experience. It takes a bit more effort to get going and manage the temperature, but many believe the payoff in taste is worth it.
- Pros: Superior smoky flavor, intense searing heat possible, feels like traditional BBQ.
- Cons: Takes longer to heat up, temperature control can be trickier, more ash cleanup.
Getting Your Grill Ready: The Clean Sweep
A clean grill is a happy grill, and more importantly, it prevents your food from sticking and tasting like yesterday’s burnt bits. This is non-negotiable for good results.
Before Every Cook: The Quick Brushing
Don’t wait until you’re about to throw food on. Have a good grill brush (wire bristles are common, but be cautious of loose wires; alternative brushes are available) and give those grates a good scrub. This removes any lingering residue.
Deeper Cleaning: Beyond the Grates
Periodically, you’ll want to give your grill a more thorough clean. For gas grills, this means cleaning out the flavorizer bars or heat tents and the bottom of the grill to remove grease buildup. For charcoal grills, it’s about emptying the ash catcher regularly. Excessive ash can actually prevent your coals from breathing properly, affecting heat.
Fueling Up: Getting the Heat Right
How you manage your fuel source (propane for gas, charcoal briquettes or lump charcoal for charcoal grills) is crucial for controlling temperature and achieving your desired cook.
Gas Grill Ignition and Control
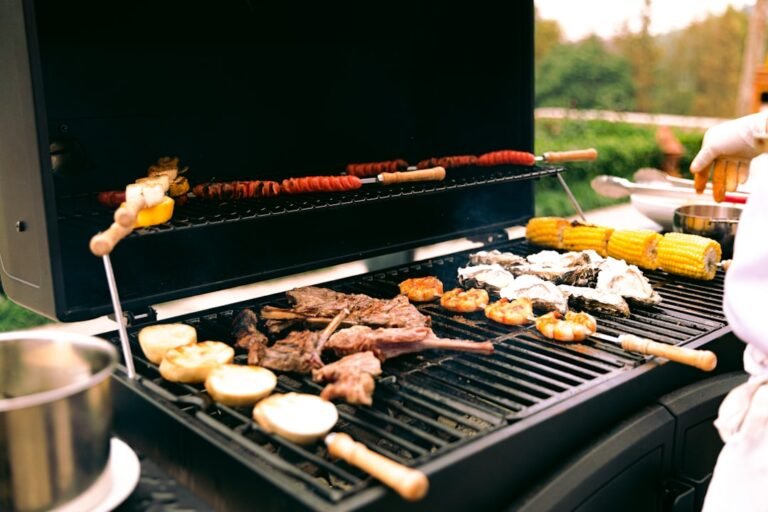
Most gas grills have simple igniters. Once lit, the magic is in the knobs. Learn how your specific grill’s burners work. Grilling over direct heat (directly over the flame) is great for searing, while indirect heat (away from the flame) is better for slower cooking or keeping food warm.
Charcoal Starting Techniques
There are a few ways to get charcoal going.
- Chimney Starter: This is widely considered the easiest and most efficient method. Fill it with charcoal, light newspaper or starter cubes underneath, and in about 15-20 minutes, your coals will be properly lit and ready.
- Lighter Fluid: While effective, some people dislike the potential chemical taste it can impart. If you use it, make sure the coals are fully covered in gray ash before adding food.
- Electric Starters: These are convenient but require electricity near your grill.
If you’re looking to enhance your outdoor experience while enjoying a delicious barbecue, you might find this article on the benefits of using a remote control lawn mower particularly interesting. It discusses how a well-maintained lawn can elevate your outdoor gatherings and make your barbecue parties even more enjoyable. Check out the article here: Robotuf Remote Control Lawn Mower Review.
Mastering the Heat: Temperature Control is King
This is where many home grillers stumble. It’s not just about getting things “hot”; it’s about getting them to the right heat for the right amount of time. Think of temperature control as your primary tool.
Understanding Direct vs. Indirect Heat
This is one of the most important concepts to grasp for versatile grilling.
Direct Heat: The Searing Zone
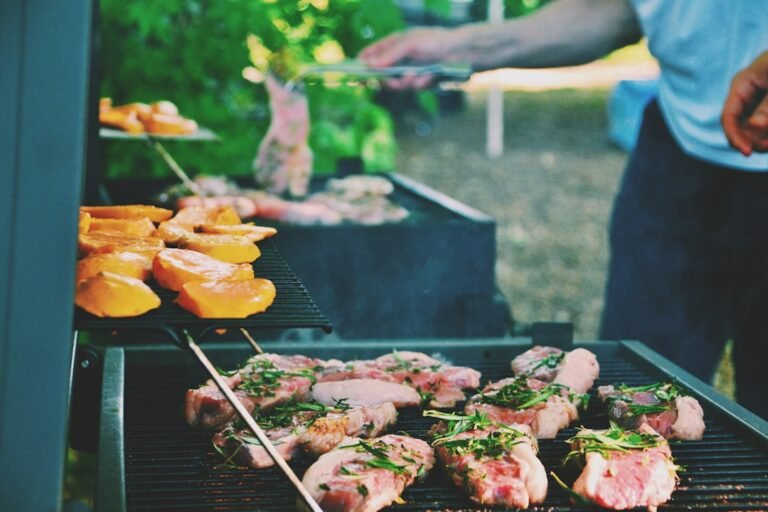
Direct heat means the food is placed directly over the heat source (coals or active burners). This is your go-to for quick-cooking items that you want to get nice and browned, like steaks, burgers, chicken pieces, and vegetables. It’s all about caramelization and developing that delicious crust.
Indirect Heat: The Slow and Steady Approach
Indirect heat is achieved by leaving areas of the grill without direct heat under them. This is like having an oven in your backyard. It’s perfect for larger cuts of meat (like whole chickens, roasts, or ribs) that need more time to cook through without burning on the outside. For charcoal grills, this often means pushing the coals to one side. For gas grills, it means turning off the burners directly beneath the food.
Setting Up for Success: Two-Zone Grilling
The concept of two-zone grilling is your best friend. It’s about creating both a hot zone (direct heat) and a cooler zone (indirect heat) on your grill simultaneously.
Why Two Zones? Versatility and Control
Having both zones gives you incredible flexibility. You can sear something on the hot side to get that beautiful crust, then move it to the cooler side to finish cooking gently without drying it out. Or, you can use the cool side to keep cooked food warm while you finish other items.
How to Create Two Zones
- Charcoal: Pile your lit coals to one side of the grill. The area directly over the coals is your hot zone; the other side is your cool zone.
- Gas: Turn on burners on one side of the grill to high heat (your hot zone). Leave the burners on the other side off or on very low (your cool zone).
Monitoring Grilling Temperatures
Knowing the temperature inside your grill is crucial.
Grill Thermometers: Built-in vs. Add-on
Many grills come with built-in thermometers on the lid. While these give you a general idea, they can sometimes be inaccurate or reflect the temperature near the lid, not necessarily the grate level. A good quality grill thermometer that clips onto the grate is a worthwhile investment for precise readings.
Using Your Hands (with Caution!)
Experienced grillers sometimes use a simple hand test. Hold your hand a few inches above the grate.
- High Heat: You can only hold your hand there for 1-2 seconds.
- Medium Heat: You can hold it for 3-4 seconds.
- Low Heat: You can hold it for 5-6 seconds.
- Always exercise extreme caution with this method!
The Art of Seasoning and Marinades
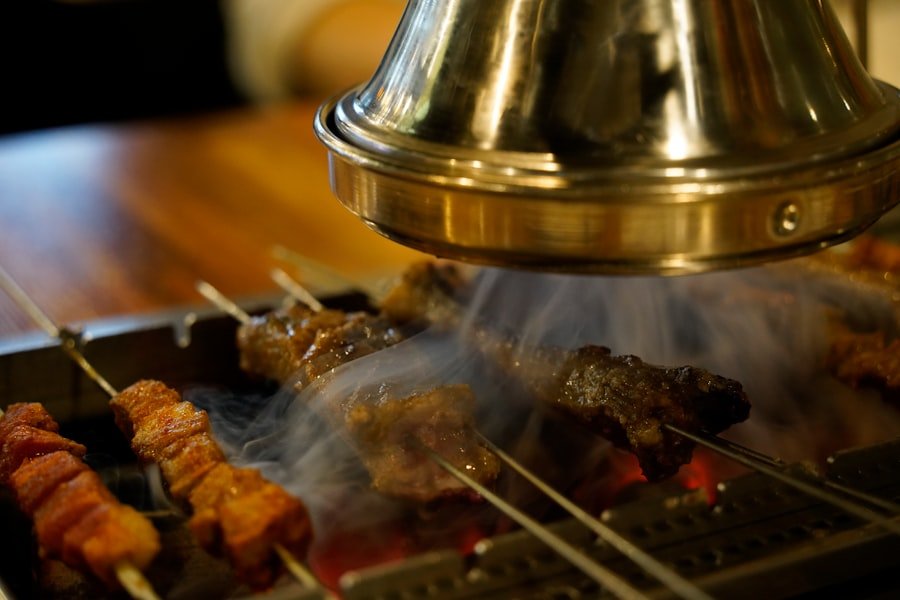
What you do before the food hits the grill makes a huge difference. It’s not just about salt and pepper; it’s about building layers of flavor.
Dry Rubs: The Flavor Armor
Dry rubs are fantastic for adding flavor and creating a beautiful crust. They are a simple blend of herbs, spices, salt, and sometimes sugar.
Basic Rub Components
- Salt: Draws out moisture, which helps with browning.
- Pepper: Classic flavor.
- Paprika: Adds color and a mild peppery note. Smoked paprika is great for extra smoky flavor.
- Garlic Powder/Onion Powder: Essential aromatics.
- Sugar (optional): Helps with caramelization and browning, but be mindful it can burn faster.
- Chili Powder/Cayenne (optional): For a bit of heat.
- Herbs (oregano, thyme, rosemary): Adds aromatic complexity.
Applying Dry Rubs Effectively
Apply your rub liberally to all sides of the meat. For best results, especially with larger cuts or poultry, rub it in a few hours ahead of time, or even overnight, and let it sit in the refrigerator uncovered (for beef/pork) or covered (for poultry) to allow the salt to penetrate and dry-brine the meat.
Marinades: Tenderizing and Infusing Flavor
Marinades are liquids that help tenderize meat and infuse it with flavor. They typically consist of an acid (like vinegar or citrus juice), oil, and aromatics.
The Acid Component
The acid in a marinade helps to break down connective tissues in meat, making it more tender. Common acids include:
- Lemon juice
- Lime juice
- Vinegar (red wine, balsamic, apple cider)
- Buttermilk
- Yogurt
Oil and Aromatics
- Oil: Helps to carry flavors into the meat and keep it moist. Olive oil, vegetable oil, or canola oil are common choices.
- Aromatics: This is where you add the bulk of your flavor. Think garlic, onions, ginger, herbs, spices, soy sauce, Worcestershire sauce, hot sauce, honey, or maple syrup.
Marinading Best Practices
- Don’t over-marinate: For leaner cuts and poultry, 30 minutes to a few hours is usually sufficient. Over-marinating, especially with strong acids, can make the meat mushy. For tougher cuts like brisket or ribs, you can marinate for 6-12 hours.
- Refrigerate: Always marinate in the refrigerator.
- Discard Used Marinade: Never reuse marinade that has been in contact with raw meat as a sauce. Boil it thoroughly if you want to use it as a finishing sauce.
Brining: The Secret to Juicy Poultry and Pork
Brining, especially for chicken and pork, is a game-changer for moisture and flavor. It involves submerging the meat in a saltwater solution.
Wet Brine vs. Dry Brine
- Wet Brine: Submerging meat in a saltwater solution, often with sugar and aromatics. This adds moisture and seasoning throughout.
- Dry Brine: Rubbing salt directly onto the meat and letting it sit. This draws out moisture, which then dissolves the salt, creating a concentrated brine right on the surface, which is then reabsorbed. This method also helps dry out the skin for crispier results.
Basic Brine Ratio
A good starting point for a wet brine is about 1/2 cup of salt and 1/4 cup of sugar per gallon of water. You can add herbs, peppercorns, garlic, or citrus rinds for extra flavor.
Grilling Techniques for Different Foods
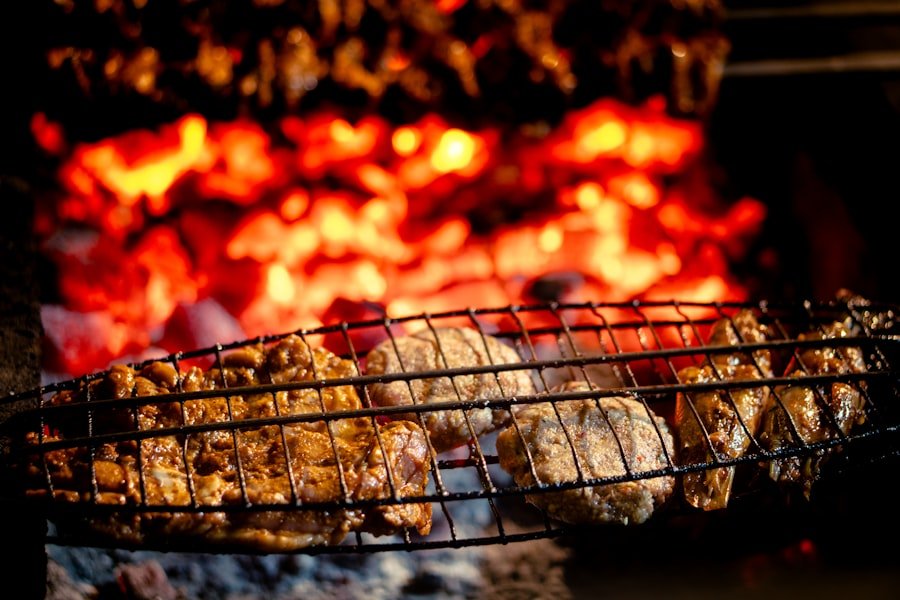
Now that your grill is ready and your food is prepped, let’s talk about what goes where and for how long.
Steaks: The Searing Sensation
Steaks are probably the first thing many people think of for BBQ. The goal is a beautiful seared crust and a perfectly cooked interior.
Choosing the Right Steak
Thicker cuts (1 inch or more) are generally easier to grill successfully because they allow you to get a good sear without overcooking the inside. Ribeye, New York strip, and sirloin are popular choices.
The Sear-and-Move Method
- Hot Sear: Place your seasoned steak on the hottest part of the grill (direct heat). Sear for 2-3 minutes per side to develop that crust.
- Move to Cooler Zone: Transfer the steak to the cooler side of the grill. Close the lid and let it finish cooking to your desired doneness. Use a meat thermometer for accuracy!
- Resting: This is CRITICAL. Let your steak rest for 5-10 minutes after removing it from the grill. This allows the juices to redistribute, resulting in a more tender and flavorful steak.
Chicken: Avoiding the Dryness Trap
Chicken can be tricky. It’s easy to end up with dry, stringy meat, especially breasts.
Using Thighs and Legs
Dark meat cuts (thighs, legs) are more forgiving and stay moister due to their higher fat content. They are excellent choices for grilling.
Bone-in, Skin-on is Your Friend
Bone-in, skin-on chicken pieces tend to be juicier and the skin crisps up beautifully on the grill.
Technique for Chicken Pieces
- Pre-cook (Optional but Recommended for Larger Pieces): For whole chickens or larger cuts, you might consider pre-cooking them in the oven or poaching them until they are about halfway cooked before moving them to the grill. This ensures they cook through without burning.
- Two-Zone Cooking: Start on the direct heat side for a few minutes per side to get color, then move to the indirect heat side to finish cooking. This prevents burning while ensuring the inside is cooked.
- Temperature Check: Chicken must reach an internal temperature of 165°F (74°C). Use a meat thermometer.
Burgers: The Pinnacle of Backyard Bites
Perfect burgers are a crowd-pleaser. It’s about achieving a juicy interior and a nice char.
Patty Perfection
- Don’t overwork the meat: Mix your ground meat gently with seasonings. Overworking develops gluten, making burgers tough.
- Dimple the center: Press a slight indentation in the center of each patty. This prevents them from puffing up into a domed shape, keeping them flat for easier stacking and eating.
- Thickness: Aim for patties about 3/4 to 1 inch thick.
Grilling Burgers
- Medium-High Heat: Grill burgers over medium-high direct heat.
- Don’t Press! Resist the urge to press down on the burgers with your spatula. This squeezes out all the delicious juices.
- Flip Once: Flip burgers only once. This allows both sides to develop a good crust.
- Cook to Doneness: While many prefer well-done, cooking to 145°F (63°C) for medium and letting them rest will result in a juicier burger. Food safety guidelines recommend 160°F (71°C) for ground beef.
Vegetables: Not an Afterthought!
Grilling vegetables can elevate them from a side dish to a star. The key is high heat and relatively short cooking times.
Choosing Veggies for Grilling
Many vegetables hold up well. Think:
- Asparagus
- Bell peppers (cut into large pieces)
- Onions (quartered or sliced thickly)
- Corn on the cob (husked or in husk)
- Zucchini and yellow squash (sliced lengthwise)
- Eggplant (sliced)
- Portobello mushrooms
Grilling Technique for Veggies
- Prepping: Cut vegetables into uniform pieces so they cook evenly. Toss them with a little olive oil, salt, and pepper.
- High Heat: Grill over high direct heat.
- Watch Closely: Vegetables cook quickly. You want them tender but with a slight bite, and nicely charred. Asparagus might take 5-8 minutes, while pepper and onion pieces could take 10-15 minutes.
- Grill Basket: For smaller veggies that might fall through the grates, use a grill basket.
If you’re looking to enhance your outdoor experience while enjoying a barbecue, you might find it interesting to explore the benefits of robotic lawn mowers. These innovative devices can help maintain your lawn effortlessly, allowing you to focus on grilling and entertaining guests. For more information on how to install and utilize these mowers effectively, check out this insightful article on robotic lawnmower installation kits.
The Final Touches: Sauces, Resting, and Serving
| BBQ Metric | Value |
|---|---|
| Number of BBQs | 25 |
| BBQ Sales Revenue | 10,000 |
| BBQ Cook-off Winners | 3 |
| BBQ Events Hosted | 10 |
You’re almost there! These last few steps are just as important as the grilling itself.
Mastering BBQ Sauces
Whether you’re making your own or using your favorite store-bought sauce, here’s how to use it effectively.
When to Sauce: The Late Game
This is a common mistake – saucing too early. Sugar in most BBQ sauces burns easily over direct heat.
- Apply in the last 10-15 minutes of cooking. This gives the sauce time to caramelize and thicken without burning.
- For ribs or larger cuts: You’ll typically apply sauce during the last 30-60 minutes, often while cooking over indirect heat.
Making Your Own Sauce
It’s surprisingly simple to whip up a decent homemade BBQ sauce. A basic recipe often includes a tomato base (ketchup or tomato paste), vinegar, sweetener (brown sugar, honey, maple syrup), and spices. Experiment with different flavor profiles – smoky, spicy, sweet, or tangy.
The All-Important Rest
Seriously, we’re mentioning it again because it’s that important. Resting meat after grilling allows the juices to settle back into the muscle fibers. Cutting into meat too soon will result in all those delicious juices running out onto your plate, leaving the meat dry and less flavorful.
How Long to Rest
- Steaks and Burgers: 5-10 minutes is generally enough.
- Larger Roasts and Whole Poultry: 15-20 minutes, or even longer for very large cuts. Tent loosely with foil to keep them warm.
Serving Up Perfection
Presentation matters, but so does serving it hot and fresh.
Carving and Slicing
When slicing meats like roasts or briskets, always slice against the grain. This shortens the muscle fibers, making the meat more tender. Look for the direction the muscle fibers are running and slice perpendicular to them.
Keep It Simple
Often, the best BBQ needs little more than a good side salad or simple grilled vegetables. Let the flavors of your perfectly grilled food shine.
Troubleshooting Common Grilling Problems
Even the best grillers face challenges. Here are some common issues and how to fix them.
Food Sticking to the Grates
This is almost always a sign of one of two things: either the grill wasn’t hot enough when you put the food on, or it wasn’t clean.
- Solution: Ensure your grill is thoroughly cleaned and preheated to the correct temperature. For very sticky items like fish, consider using a grill mat or a perforated grill pan.
Flare-Ups Ruining Your Food
Flare-ups happen when fat drips onto the coals or burners, igniting. While some char is good, excessive flare-ups will burn your food.
- Solution:
- Trim Excess Fat: Before grilling, trim off large pieces of excess fat.
- Use Indirect Heat: If you’re getting persistent flare-ups, move the food to the indirect heat zone to finish cooking.
- Close the Lid Briefly: For gas grills, you can sometimes turn off the burners directly under the food for a moment to let the flames subside.
- Keep a Spray Bottle of Water Handy (Use Sparingly): A light mist can sometimes help douse small flare-ups, but don’t soak the coals or food.
Uneven Cooking
One side is done, the other isn’t. This is often due to uneven heat distribution on your grill.
- Solution:
- Rotate Food: Turn and move your food around frequently on the grill, especially when using direct heat.
- Ensure Proper Two-Zone Setup: A well-established two-zone setup is your best defense against uneven cooking.
- Check Your Grill’s Hot Spots: Every grill has hot spots. Learn where yours are and adjust your cooking strategy accordingly.
Food is Dry and Overcooked
This is often a temperature control issue or a lack of resting time.
- Solution:
- Use a Meat Thermometer: This is the most reliable way to ensure you’re not overcooking.
- Master Direct vs. Indirect Heat: Use direct heat for searing and finishing quickly, and indirect heat for slower cooking to prevent drying out.
- Don’t Forget to Rest: Resting is non-negotiable for juicy results.
- Consider Brining or Marinating: These techniques add significant moisture and flavor.
The Verdict
Mastering BBQ isn’t about having secrets; it’s about understanding the fundamentals: managing your heat, prepping your food well, and using the right techniques for different ingredients. Start simple, practice what you learn, and don’t be afraid to experiment. The best part? The learning process involves eating some truly delicious food. Happy grilling!