
Mastering the Art of Grilling and Smoking
Grill masters aren’t born, they’re built (and burned a little along the way). The good news is, grilling and smoking isn’t some secret society; it’s a skill you can absolutely pick up. At its core, it’s about controlling heat, understanding your fuel, and knowing your food. Whether you’re aiming for perfectly seared steaks or fall-off-the-bone ribs, the principles remain the same. This guide will walk you through the practicalities, from choosing your equipment to mastering specific techniques, so you can confidently conquer your next cookout.
Deciding what to cook with is often the first step, and it sets the stage for your flavors and cooking style.
Charcoal: The Flavor King
For many, charcoal is the heart and soul of outdoor cooking. It offers a distinct smoky flavor that gas typically can’t replicate.
Lump Charcoal vs. Briquettes
This is a common debate. Lump charcoal is essentially pure, charred wood. It burns hotter and cleaner than briquettes, lights faster, and often imparts a more natural woodsy flavor. However, it can be irregularly shaped, making consistent heat distribution a bit trickier. Briquettes, on the other hand, are compressed wood byproducts and additives. They burn more uniformly and for a longer duration, making them ideal for longer cooks and smoking. The downside is they can produce more ash and sometimes carry a slight chemical smell if you’re using cheaper brands with binders. For most everyday grilling, quality briquettes are perfectly fine. For a more authentic, cleaner burn, lean towards lump.
Lighting Your Charcoal
Forget the lighter fluid – it leaves a nasty chemical taste. A chimney starter is your best friend here. Fill it with charcoal, place some crumpled newspaper (or a fire starter cube) underneath, and light it up. In about 15-20 minutes, you’ll have glowing coals ready to go. Alternatively, an electric charcoal starter or a propane torch works wonders.
Gas Grills: The Convenience Champion
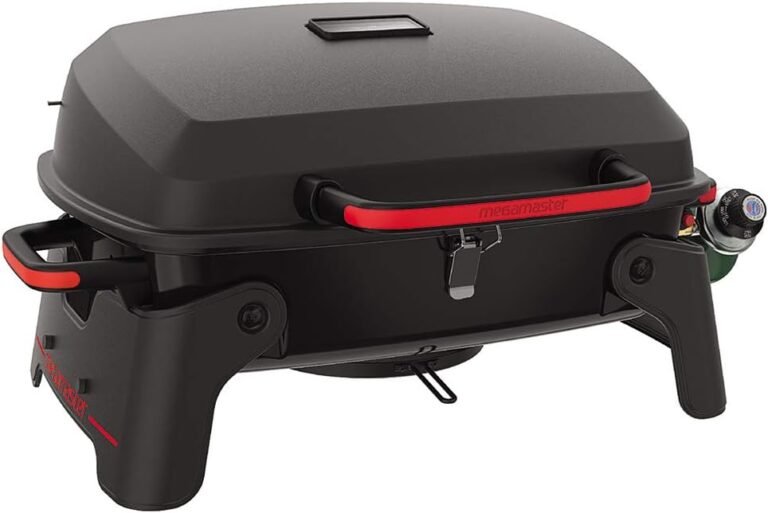
Gas grills are beloved for their convenience and quick heating. No waiting for coals to ash over, just turn a knob and you’re cooking.
Propane vs. Natural Gas
Most gas grills run on propane tanks. These are portable and readily available. Natural gas grills, however, connect directly to your home’s gas line, offering an unlimited fuel supply. This means no more mid-cook tank runs, but it also means your grill is fixed in one spot. It’s a trade-off between portability and uninterrupted cooking.
Understanding Burners and Heat Zones
A major advantage of gas grills is the ability to create different heat zones. Use all burners on high for a powerful searing direct heat zone. Turn one burner off for a cooler indirect heat zone, perfect for larger cuts that need slower cooking. Learning to manipulate these zones is key to versatile gas grilling.
Wood: The Smoking Secret Sauce
When it comes to smoking, wood isn’t just fuel; it’s an ingredient. Different woods impart different flavors.
Wood Chunks, Chips, and Pellets
Wood chunks are ideal for longer smoking sessions, producing a steady stream of smoke. Chips burn faster and are better for shorter cooks or adding a quick burst of smoke during grilling. Pellets, used in pellet grills, offer precise temperature control and a consistent smoke flavor, often blending various woods for specific profiles.
Flavor Profiles of Different Woods
- Oak: Mild to medium, great all-around for beef, pork, and poultry.
- Hickory: Strong, bacon-like flavor, excellent for pork ribs, butt, and beef.
- Apple: Sweet, fruity, ideal for poultry, pork, and fish.
- Cherry: Mild and fruity with a reddish hue to the meat, good for poultry, pork, and beef.
- Mesquite: Very strong, pungent, best used sparingly, often for beef or game.
- Pecan: Milder than hickory, nutty, good for poultry, pork, and fish.
If you’re looking to enhance your outdoor cooking experience, you might find our article on the best grills and smokers particularly useful. It covers a range of options suitable for both beginners and seasoned chefs, ensuring you find the perfect equipment for your culinary adventures. For more information, check out the article here: Best Grills and Smokers.
Mastering Heat Control: Direct vs. Indirect Cooking
This is where the magic happens. Understanding how to manage your heat is fundamental to successful grilling and smoking.
Direct Heat: The Searing Zone
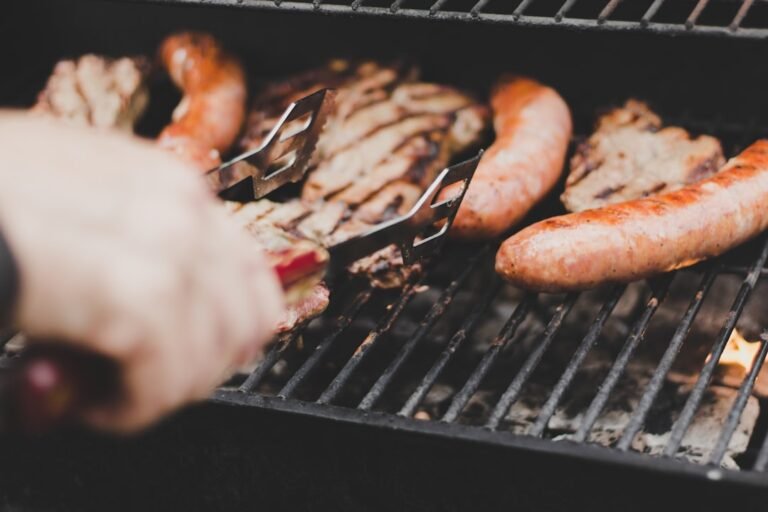
Direct heat is exactly what it sounds like: food cooked directly over the heat source. This is for quick-cooking items like thin steaks, burgers, hot dogs, and vegetables. It’s fantastic for achieving that desirable crust and char.
Achieving a Good Sear
To get a perfect sear, your grill needs to be hot. Preheat your gas grill with all burners on high for 10-15 minutes, or wait until your charcoal is glowing and covered in a light ash. Oil your grates lightly with a high smoke point oil (like grapeseed or avocado) before placing your food. Don’t crowd the grill; give each piece space to sizzle. And resist the urge to constantly flip! Let the food sit to develop that crust.
Indirect Heat: The Roasting and Smoking Zone
Indirect heat means the food is cooked away from the direct heat source. This is crucial for larger cuts of meat, poultry, and for low-and-slow smoking. It functions much like an oven, cooking more gently and evenly.
Setting Up for Indirect Cooking
- Charcoal Grills: Push all your hot coals to one side of the grill. Place a drip pan (filled with water or apple cider vinegar) on the empty side, then put your food on the grate above the drip pan. Close the lid and use your vents to control airflow and temperature.
- Gas Grills: Turn off one or more burners on one side, and place your food over those unlit burners. The lit burners will provide the heat, circulating it around your food with the lid closed.
Temperature Management on a Smoker
When smoking, consistent low temperatures (typically 225-275°F / 107-135°C) are key. Learn your smoker’s hot spots and adjust your vents and fuel accordingly. A good probe thermometer, both for ambient grill temperature and internal meat temperature, is invaluable.
Essential Tools and Gadgets

You don’t need a professional kitchen setup, but a few well-chosen tools will make your grilling life much easier.
The Right Thermometers
Hands down, this is the most important investment you can make.
Instant-Read Thermometer
Crucial for checking internal temperatures of meats. A good instant-read thermometer will give you an accurate reading in seconds, preventing overcooked dry meat and ensuring food safety. Place it in the thickest part of the meat, avoiding bone.
Leave-In Probe Thermometer
Ideal for longer cooks like roasts, briskets, or whole chickens. One probe monitors the ambient grill temperature, while another monitors the internal temperature of your food, often with an alarm to signal when your target temperature is reached.
Grilling Utensils
Beyond the basic spatula.
Long-Handled Tongs
Essential for turning food safely without getting too close to the heat. Look for sturdy ones with good grip.
Grill Brush or Scraper
Keeping your grates clean is vital for preventing sticking and buildup. A good quality brush or scraper will prevent flare-ups and ensure clean sear marks.
Basting Brush
For applying marinades, sauces, or glazes while cooking. Silicone brushes are easy to clean and heat resistant.
Other Useful Accessories
Drip Pans
Disposable aluminum pans are perfect for catching drippings during indirect cooking, preventing flare-ups, and making cleanup easier. They can also be used as water pans in smokers.
Spray Bottle
Filled with water, apple cider vinegar, or a mix, a spray bottle is handy for spritzing meat to keep it moist during long smokes or to douse small flare-ups.
Heat-Resistant Gloves
Protect your hands when handling hot grates, moving charcoal baskets, or maneuvering larger cuts of meat.
Meat Prep and Marinades: Building Flavor Foundations

The quality of your raw ingredients and how you prepare them makes a huge difference.
Prepping Your Meat
Before it even hits the heat, your meat needs some love.
Trimming Fat and Silver Skin
Trim excess hard fat to prevent flare-ups and ensure even cooking. Silver skin, a tough membrane found on cuts like pork loin and ribs, should be removed as it won’t render and will become chewy.
Brining: For Moisture and Tenderness
Brining involves soaking meat (especially leaner cuts like chicken breast, pork chops, or turkey) in a salt and water solution. The salt helps the meat retain moisture and can even break down some muscle fibers, resulting in a more tender and juicy product. A basic brine is 1 tablespoon of salt per cup of water. You can add sugar, herbs, and spices for extra flavor.
Rubs and Marinades: Flavor Infusion
- Rubs: Dry rubs are blends of spices and herbs applied directly to the surface of the meat. They form a flavorful crust during cooking. Apply liberally and let sit for at least 30 minutes, or ideally several hours, to let the flavors penetrate.
- Marinades: Marinades typically contain an acid (like vinegar or citrus juice) to tenderize, oil for moisture, and aromatics for flavor. They work quickly, often needing only 30 minutes to a few hours. Marinating for too long can sometimes make meat mushy, especially with strong acids.
Rest Your Meat!
This step is often overlooked but it’s critical. After cooking, tent your meat loosely with foil and let it rest for 5-20 minutes (depending on size). This allows the juices, which have been pushed to the center during cooking, to redistribute throughout the meat, resulting in a significantly juicier and more tender final product. Slicing too early will let all those precious juices escape onto your cutting board.
If you’re looking to enhance your outdoor cooking experience, you might find it interesting to explore the benefits of using a grill and smoker. These versatile tools can elevate your culinary skills and allow you to experiment with various flavors. For those interested in maintaining a beautiful lawn to complement their grilling area, you can check out this insightful article on a robotic lawn mower that can help keep your yard in top shape. You can read more about it here.
Beyond the Basics: Advanced Techniques and Tips
“`html
| Product | Price | Rating |
|---|---|---|
| Charcoal Grill | 150 | 4.5 |
| Gas Grill | 300 | 4.8 |
| Electric Smoker | 250 | 4.7 |
| Wood Pellet Grill | 400 | 4.9 |
“`
Once you’ve got the fundamentals down, there are endless ways to elevate your grilling game.
Reverse Searing
This technique is fantastic for thicker cuts of meat like steaks (1.5 inches or more) or roasts. Instead of searing first, you cook the meat indirectly at a lower temperature (around 225-275°F / 107-135°C) until it’s about 10-15°F (5-8°C) below your target doneness. Then, you blast it over high direct heat for a quick, intense sear to develop a beautiful crust. This results in incredibly even doneness from edge to edge and a fantastic sear.
The Smoke Ring
A prized characteristic in smoked meats, especially on cuts like brisket and pork butt. The smoke ring is a pinkish layer just under the surface of the meat. It’s formed by a chemical reaction between nitric oxide and carbon monoxide (produced by burning wood) and the myoglobin in the meat. To maximize your smoke ring, ensure clean combustion of your wood and begin smoking meat when it’s relatively cool.
Keeping it Clean
A clean grill isn’t just about aesthetics; it’s about performance and food safety.
Hot Grates Before and After
Brush your grates before cooking to remove any leftover food particles, ensuring your food doesn’t stick. Brush them after cooking while they’re still warm – it makes cleanup much easier.
Deep Cleaning
Periodically, give your grill a more thorough cleaning. Empty ash, scrub grates, and wipe down external surfaces. For gas grills, check burner ports for blockages and ensure gas lines are clear.
Don’t Fear the Experiment
The best grill masters are always learning and experimenting. Try new rubs, different wood combinations, or unusual cuts of meat. Don’t be afraid to fail; that’s how you discover what you love and what works best for your setup. Take notes of what worked and what didn’t. Over time, you’ll develop your own signature style and become the go-to expert for amazing grilled and smoked food.